Thursday, October 27, 2011

More Bench Work

In a slight change of plan I have decided to put some timber up between the supports  so the background will only have to be flush with it and not have slots cut in it to go around the supports.
I got some angle strips and masonry screws to secure the supports to the wall to make it more stable.
Because it is tall and narrow I have also bolted the east side of the bench work to the floor.

The layout bench work 95% complete and painted, in the foreground is the location of the Helix.
East side bench work.


Saturday, October 1, 2011

Lighting The Layout


I have finished painting the supports for the west section of the layout and I am in the process of fiddling with the final placement.

I decided to play around with the lighting for the layout just to check that I made the right choice and because I am sick of wood working at the moment. The photo above is the just the room lighting on some test wagons on the second level.

I was thinking for a while about how I was going to light the layout and for while I was focused on single tube fluro lights but the cheapest one that came with its own plug was about thirty five dollars. Then I had a brain wave when I was in bunnings and came across a string of party lights with incandesant bulbs for twenty bucks. What if I replaced the bulbs with 23W compact fluro bulbs which would be 2w under the max rating for each light socket and I didn't have to wire them up just plug them in. The lights are spaced 700mm apart and have a three meter cord from the socket to the first light. I have tried a few styles of CF bulbs and have settled on Cool White 2700K for the effect I want.

Test wagons in the middle of the deck.


Test wagons on the edge.

Test wagons about two inches from the back.

Test wagon in the middle.

Test wagons about two inches from the edge.

Test wagons on the edge.

Wednesday, September 21, 2011

Even More Bench Work

I have been busy building more supports for the other side of the layout and you may notice the supports for the second level have a section sticking out the other side. This will be for a four track staging yard behind the backdrop on the second level that will allow me to stage trains at a height that is easy to work at without having to bend over or reach very far.


I have put the strip for the top facia and too the top right you can see the bracing along the top of the posts to stop them from flexing


My most recent purchases arrived this week in the form of some BLMA 64' reefers my only problem with them is I only got three.

Saturday, September 10, 2011

More Benchwork

I have done a little more work on the layout and resisted the temptation while in Brisbane to buy more freight wagons.


In the photo above you can see the various bracing pieces at the staggered joints on the long beam.


Sunday, August 7, 2011

More Bench Work

I have managed to finish the end section and have started to figure out where I am going to place the supports along the wall. The photo below shows the three meter long cross beam to make the end section more rigid.


Looking towards the wall section you can see the spacing of the new sections.

I have to place a bit of a gap between the supports and the wall due to the window sash and the brick support for the beam holding up the top level.

Friday, July 22, 2011

First Benchwork


Looking at the production line for the supports you can see the ones I have cut the slots for the supports on the left in the forground. The ones behind are just glued and screwed and have the support block for the bolt. One thing I will do differently will be to paint the supports before fixing them in place, It wasn't an issue on the first section because I could move it and lay it down.


A close up of the support bolts.


I have decided to paint the benchwork with an acrlic paint to seal it fron moisture.


The end section almost as I planned it, I will add the support for the facia on the second and third leves when the other sides are inplace.

Wednesday, June 22, 2011

New Plan and Benchwork Started

G'day all I am pleased to announce that the bench work is finally underway and I have modified the plan to suit the space better. I decided not to finish off the room completely yet due to access and mess issues while the bench work is under construction.

As you can see it is a bit different from the other plan but much testing has been done to arrive at this design. The deck width has been reduced to 400mm for ease of construction as well as less weight on the horizontal supports that appear as red on the plan.
The helix has been increased in size as well as the bottom edge being shortened.


The plan above is for the short section that will feature a tall trestle bridge for which I have measured and lowered the middle two supports for. I also modified the support and deck heights as I went, hopefully it will not turnaround and bite me on the bum.


The rear supports are made from two 70x19x1800 mm lengths of timber glued and screwed together to form a strong support. The block at the base is for the adjustable height fittings.

This is a shot of one of the two middle supports for the middle section, initially I did not plan to add lighting to the to section but I fund a cheap light weight solution so I added supports for a valance.

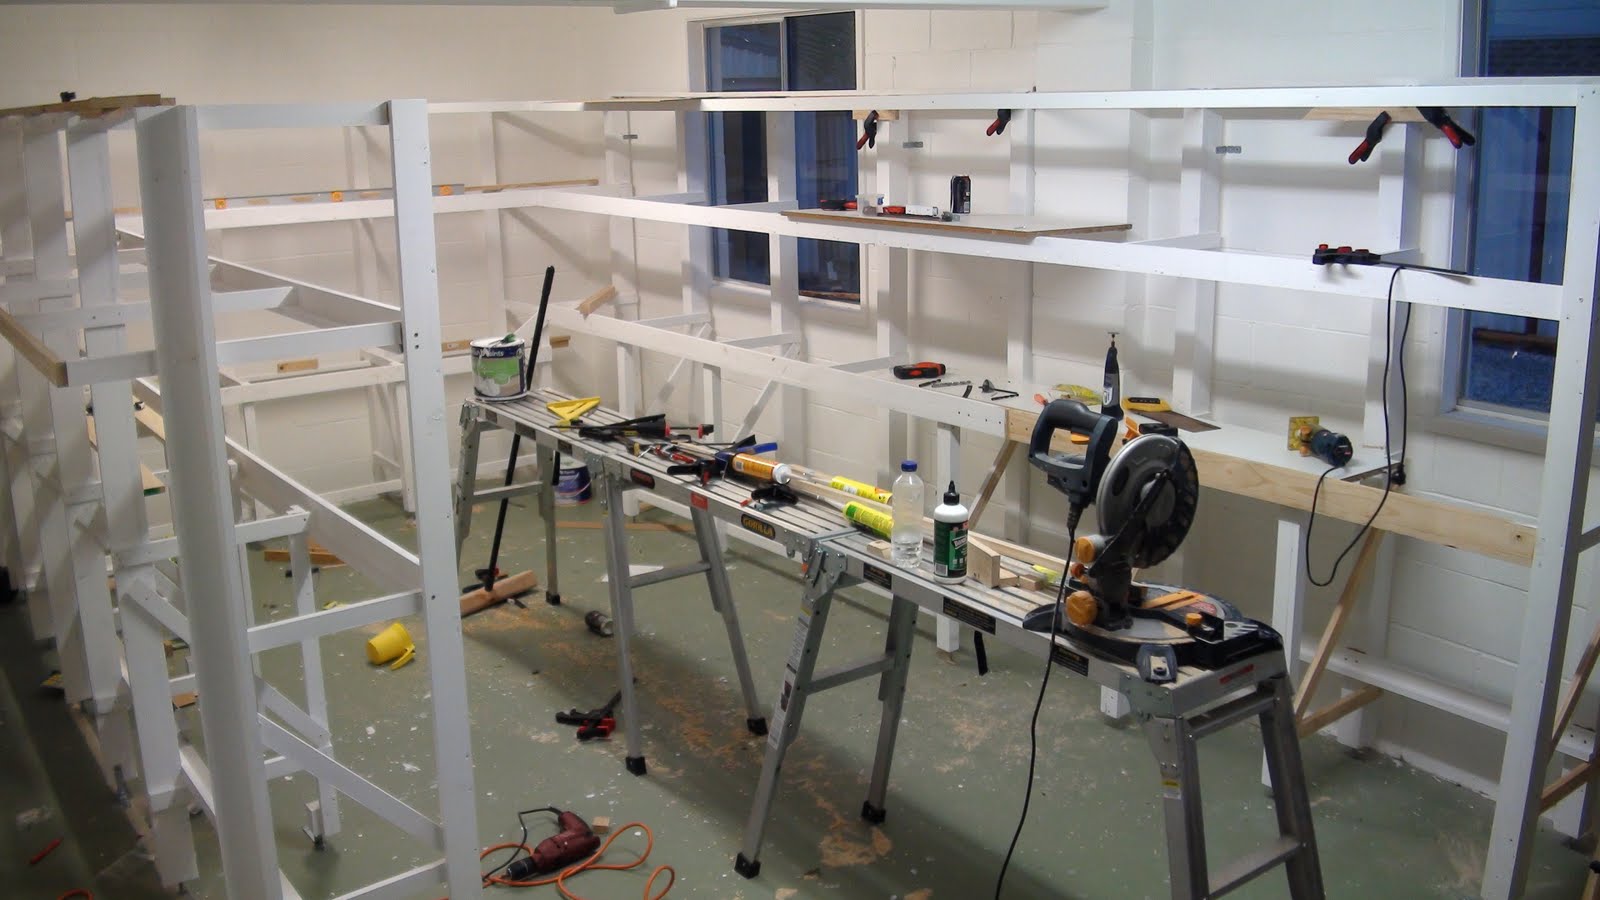
This shot shows how I attached the supports for the deck and valance, to minimise movement I used a router too notch the vertical supports for the horizontal ones.
I first used liquid nails and clamps to fix them in place and make sure they were square before letting them dry over night and put in some screws the next day.

Saturday, May 7, 2011

Fox Valley Wheels Swap

I got some Fox Valley Models metal wheels to try on some of my micro trains wheels with the large pizza cutter flanges. First impression is that they look great but there is a bit of a height difference when the Fox Valley wheels are fitted but is not unmanageable. I think that for general use they would be a great addition just for operating and visual appeal but would highly recommend them for adding weight to lighter rolling stock and top heavy stuff as well.

Friday, March 18, 2011

Steam to Biloela


The coal wagon is in the next dead end siding to the right of the screen.


Here is the link to my video of the trip.
http://www.youtube.com/user/qtrain1#p/a/u/1/2Is8EQWx90w
And part two.
http://www.youtube.com/user/qtrain1#p/a/u/0/L3mHCo9E5hQ

Saturday, January 29, 2011

Whats happening at the moment.

I have been thinking alot lately about what I want to do with the time avaliable to me with a young family. I have decided to let a few things go and concentrate on my layout once I have finished a side project that currently takes up most of my modeling time. The layout room is nearly finished and just needs the old door replaced with a glass sliding door.